
Prologue: Go Wayback is far from a typical survival game. It stands out with extreme weather conditions and a unique twist on the classic survival loop. Before embarking on your journey through its randomly generated maps, it`s crucial to optimize your PC settings. Video settings, in particular, require careful tuning, as performance can be inconsistent without high-end hardware. However, audio and control settings can also be customized to suit your personal preferences. Below is a comprehensive guide to our recommended settings.
Table of Contents
- Best Settings in Prologue: Go Wayback
- Video Settings
- Sound Settings
- Control Settings
Optimal Settings in Prologue: Go Wayback
Prologue: Go Wayback offers three primary settings menus: Video, Sound, and Controls. We will detail each one, providing our recommendations. Please remember that some parameters may depend on your hardware and individual preferences.
Video Settings

- Resolution: 1920×1080 or your monitor`s highest resolution
- Fullscreen Mode: Borderless
- View Distance: High
- Anti-Aliasing: Medium
- Post Processing: Medium
- Shadows: Low
- Global Illumination: Low
- Reflections: Low
- Textures: High
- Effects: High
- Foliage: High
- Shading: Medium
- Motion Blur: No
- Upscaler: DLSS (for Nvidia GPUs)
- Frame Generation: DLSS (for compatible Nvidia GPUs)
- Sharpener: None
- Upscaler Quality: High
- Sharpener Quality: Low
- Gamma: 2.2
Your choice of video settings directly impacts the frames per second (FPS) you achieve in Go Wayback. If you have a modern PC and are getting over 100 FPS, the settings above will help balance performance with solid visual quality. However, if your FPS is below 60, it`s advisable to lower some or all settings to their minimum values to achieve a higher frame rate.
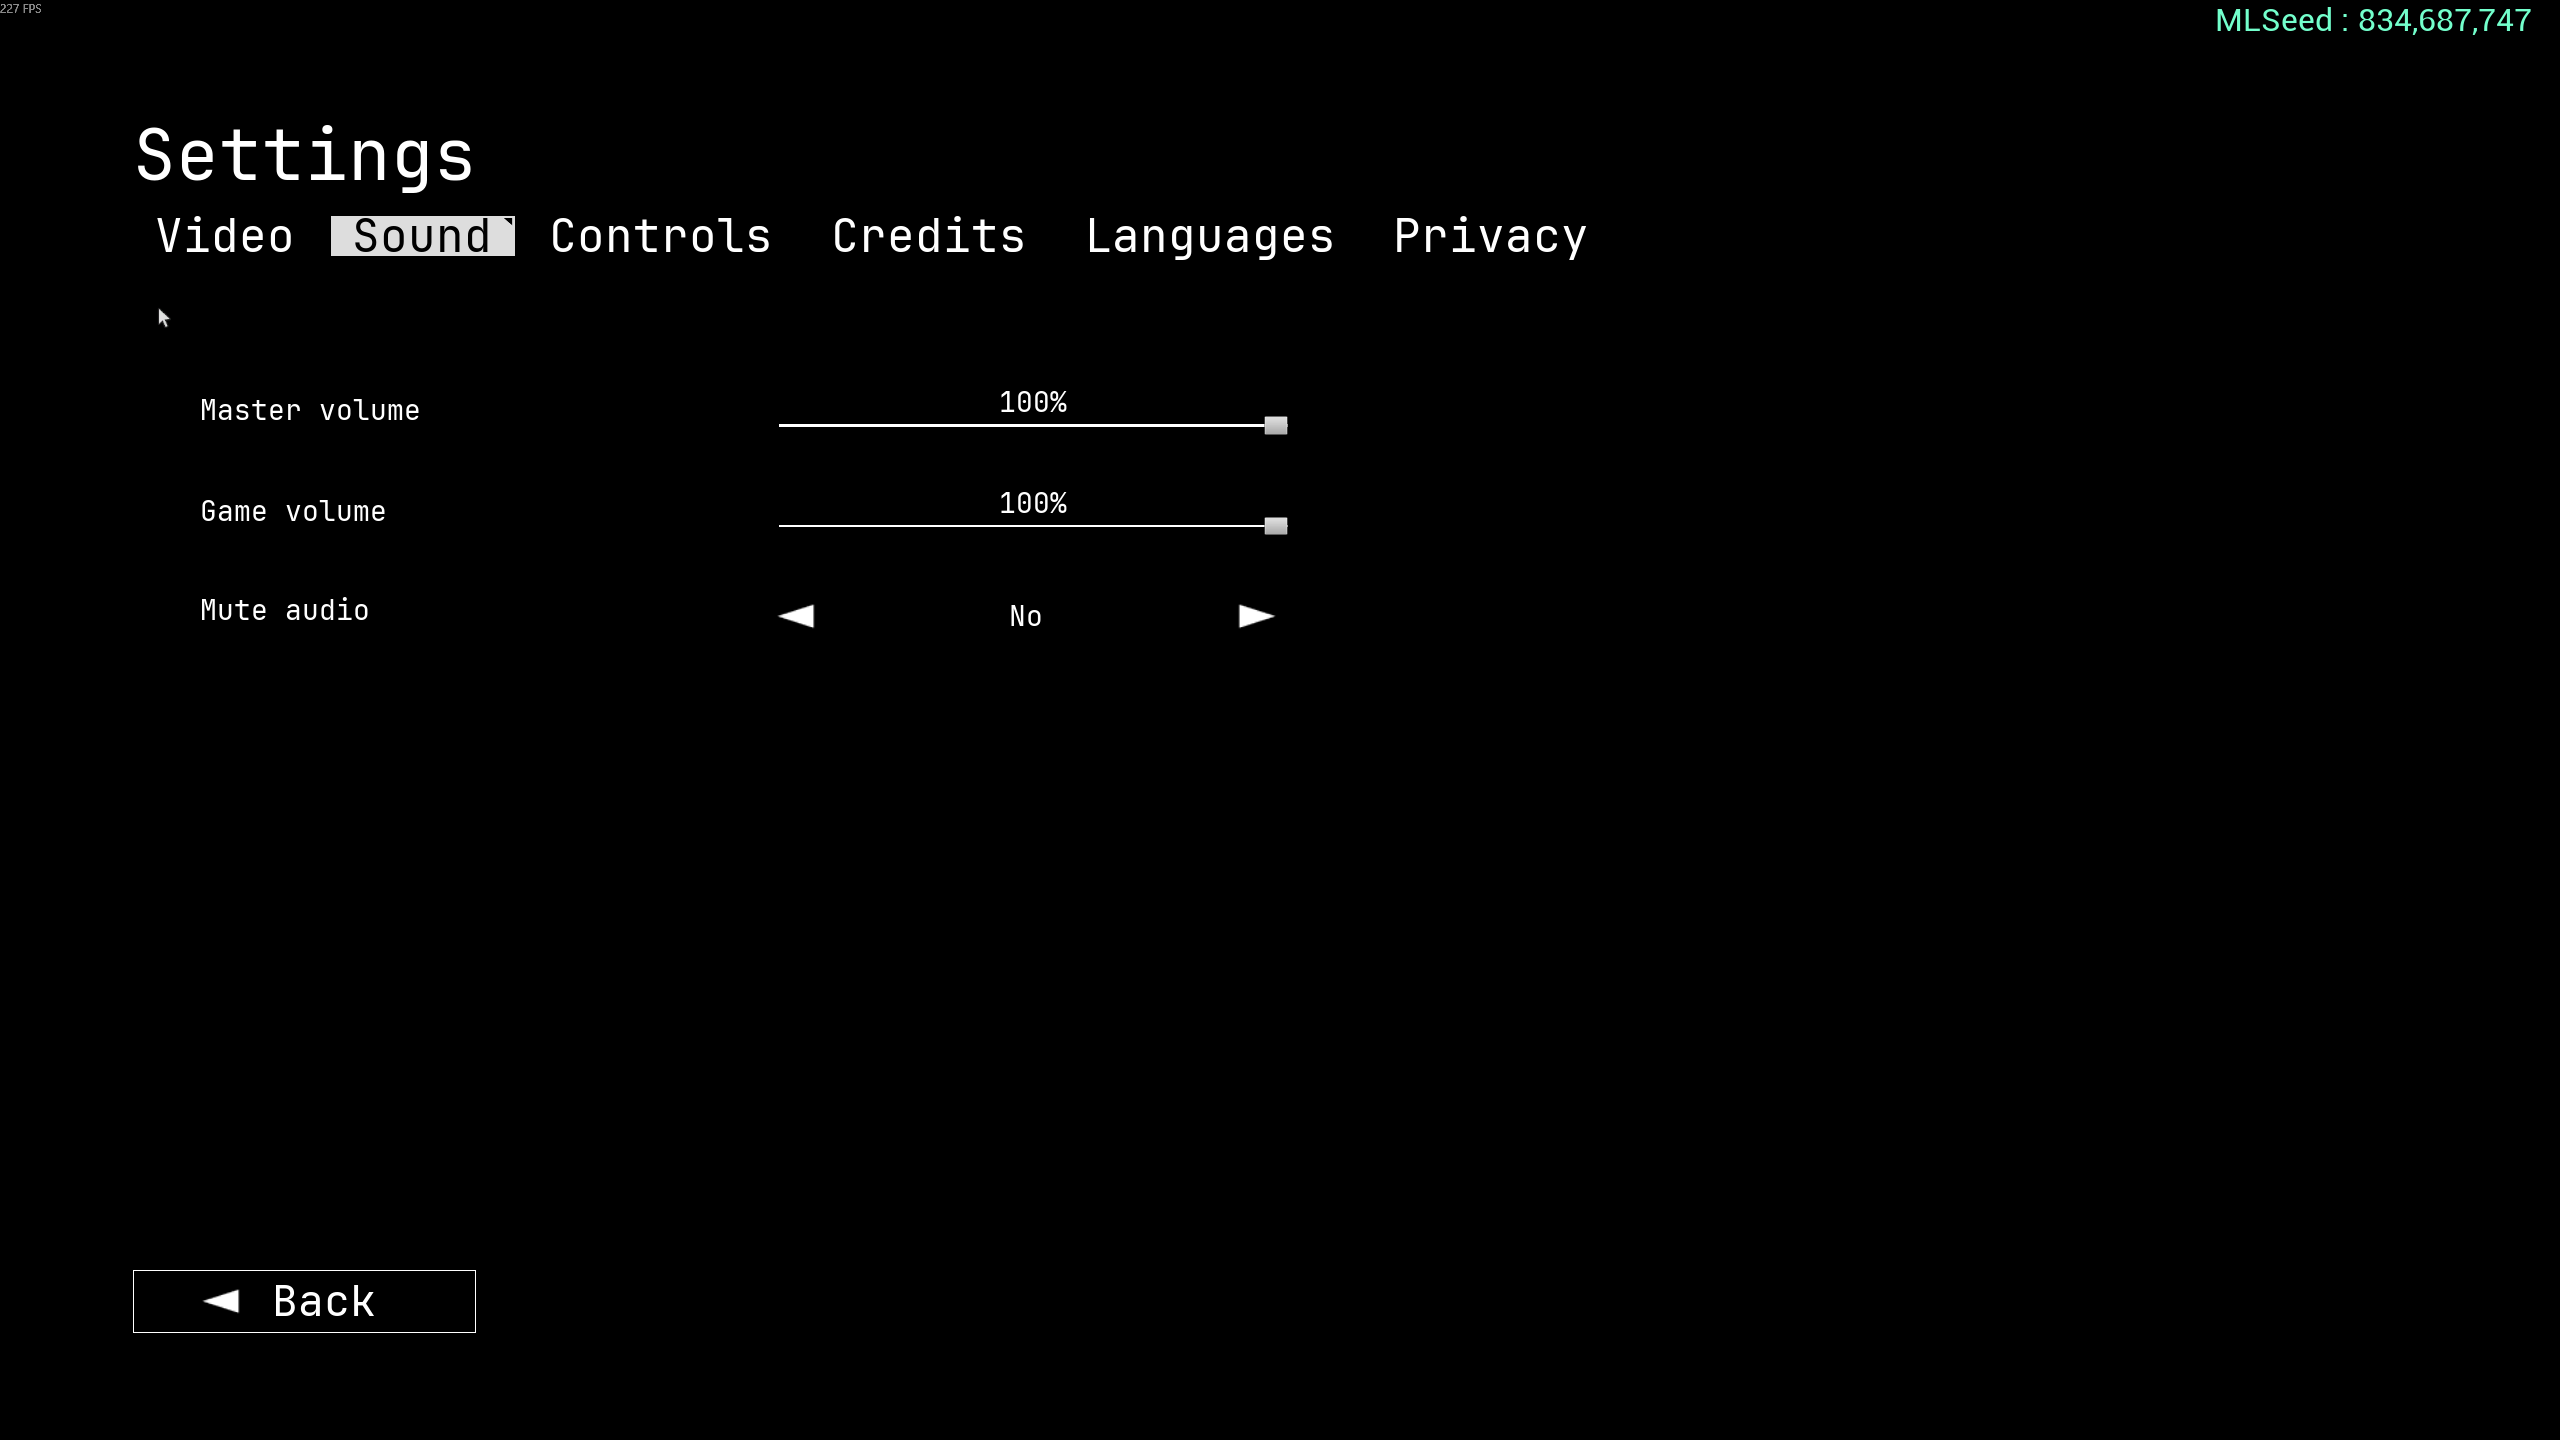
Sound Settings

- Master Volume: 100%
- Game Volume: 100%
- Mute Audio: No
The sound design in Go Wayback is excellent and significantly enhances immersion. We recommend keeping audio levels at maximum. Naturally, these settings are highly personal, and you can adjust them to your liking.
Control Settings

- Crouch: C or Left Ctrl
- Jump: Space Bar
- Move Backward: S
- Move Forward: W
- Move Left: A
- Move Right: D
- Run: Left Shift
- Walk: Left Alt
- Help: H
- Pause: P or Escape
- Interact with equipped item (secondary): Right Mouse Button
- Carry Item Under Arm: F
- Quick Equip 1: 1
- Quick Equip 2: 2
- Quick Equip 3: 3
- Quick Equip 4: 4
- Quick Equip Map: M
- Holster Equipped Item: 5
- Inspect: Q
- Interact With Equipped Item: Left Mouse Button
- Open Inventory: Tab
- Interrupt Item Placement: Right Mouse Button
- Place Item (hold and release): R
- Walkman Fast Forward: Combo Key and Right Mouse Button
- Walkman Rewind: Right Mouse Button
- Walkman Change Volume: Mouse Wheel
- Cancel Build Action: Right Mouse Button
- Camera Sensitivity: 30%
- Camera FOV: 120
We made a few minor adjustments to the default keybinds, though nothing too drastic. The default controls are intuitive enough if you prefer to use them immediately. However, if you have preferred key combinations, feel free to use those. At the bottom of the Controls menu, you`ll find options for Camera Sensitivity and Camera FOV. We slightly reduced camera sensitivity from the default and increased FOV to 120 for a more immersive view. These values can be further adjusted based on your mouse DPI or personal field of view preferences.